- Step 1: Create Your Docs Page Template In Elementor
- Step 2: Insert Ready Elementor Layouts for Docs Archive Pages
- Step 3: Configure Single Doc Page In Elementor
- Step 4: Insert BetterDocs Ready Blocks For Single Doc
- Step 5: Customize Your Docs Page With Elementor
- Step 3: Set Conditions & Publish Docs Page Template
- Final Outcome
BetterDocs gives you the complete flexibility to configure and style your docs page with Elementor. You will get access to ready blocks, docs category archive page layouts with lots of free widgets to edit your Docs page with Elementor any way you want and create stunning designs in a few minutes.
Here’s a step-by-step guide on how to set up the Docs page with Elementor Theme Builder:
Note: The Elementor Theme Builder is a feature that is only available with Elementor Pro. So to configure your Doc page with Elementor, make sure Elementor Pro is activated and installed on your WordPress dashboard.
Step 1: Create Your Docs Page Template In Elementor #
From your WordPress dashboard, navigate to Templates→ Theme Builder. Click on the ‘Add New’ button, select ‘Doc Archive’ as your template type and then click on the ‘+’ button as shown below.

It will come up with a pop-up window that showcases BetterDocs ready blocks for Elementor. You can use these ready blocks to instantly create your docs archive page.

Step 2: Insert Ready Elementor Layouts for Docs Archive Pages #
Click the ‘Insert’ button for any of the BetterDocs docs category archive page layouts. It will be displayed on your Elementor Editor just within a few moments.

Step 3: Configure Single Doc Page In Elementor #
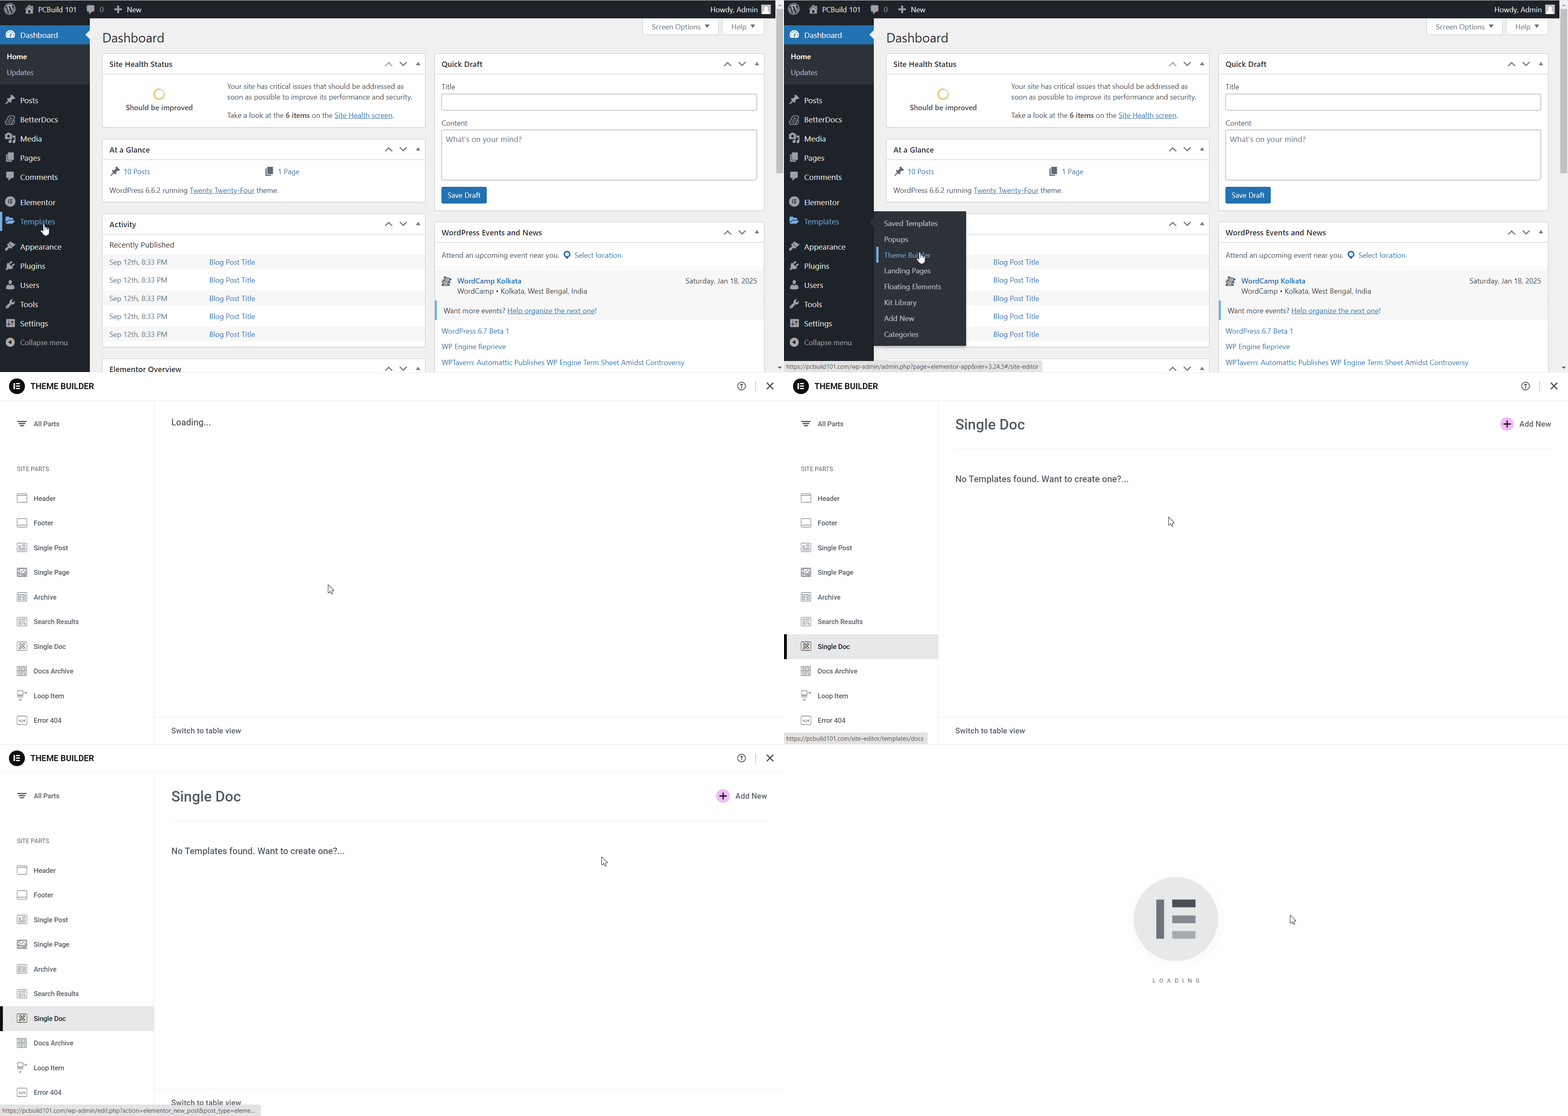
BetterDocs also comes with ready blocks to design single docs in Elementor Editor. If you want to create one, you have to navigate to Templates→ Theme Builder. Select ‘Single Doc’ as your template type and then click on the ‘Add New’ button as shown below.

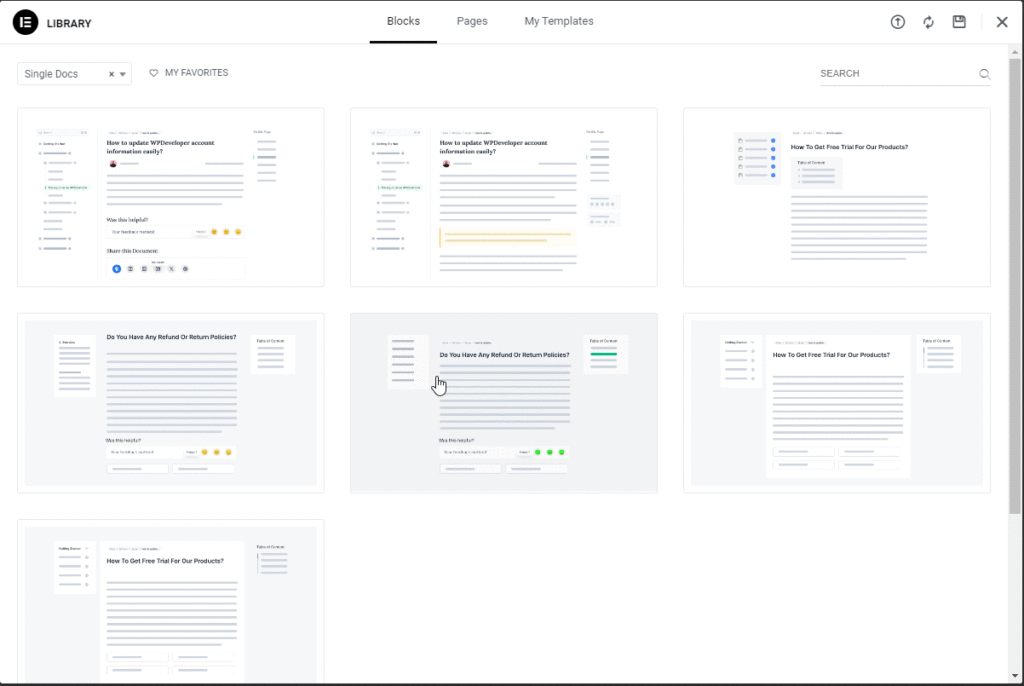
You will get a popup window that displays all the ready blocks to create your single docs page in Elementor Editor.

Step 4: Insert BetterDocs Ready Blocks For Single Doc #
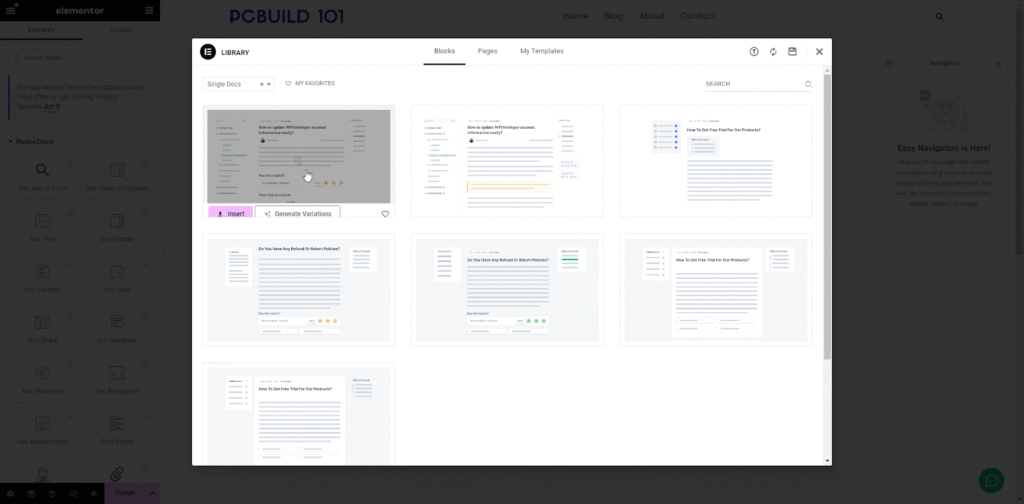
Next, you have to hit the ‘Insert’ button on any of the ready designs and it will show up within a few minutes on your Elementor Editor. Now you are completely free to make any changes according to your needs.

Or if you want, you can also customize your docs category archive page from scratch by configuring different elements,
Step 5: Customize Your Docs Page With Elementor #
You just have to choose a single page archive or docs single page from your Elementor theme builder, and then you will be redirected to the Elementor Editor.
From the Elementor editor’s Elements tab, you will find BetterDocs elements to design your Docs page template. Drag and drop these widgets from the widget panel on the page as you need.

Doc Search Form #
The Doc Search Form element allows you to add a live search bar to your Docs page. Drag and drop this element wherever you’d like on your page.

The element is displayed on your page by default as shown below.

You can customize your Doc Search Form from the ‘Content’ tab. Select a Search Layout and customize the Search Content.

In the Style Tab, under the ‘Search Box’ section you will see options for changing the background type and color. You can add images, solid colors or gradients for your background.
It is also possible to customize the ‘Search Field’ section’s coloring, typography, padding, icons and so on.

You can change the width, background type, and border for your results box from the ‘Search Result Box’ section. With the ‘Search Result List’ section, you can also change the typography and colors used for your search results.

BetterDocs Category Box #
BetterDocs Category Box helps you to showcase all your documentation categories together in box format. From ‘Content’ tab, you can include and exclude categories from displaying on the Docs page. Also, you can customize the layout option, icons, title, and many more.
For more information on how to configure BetterDocs Category Box, check out this documentation.

BetterDocs Category Grid #
BetterDocs Category Grid allows you to display your documentation categories in an amazing grid format. It allows you to choose which docs category to include and which to exclude. Besides, you can customize the layout option, icons, title, and many more.
To learn more about how to configure BetterDocs Category Grid on your Docs page, visit this documentation.

Step 3: Set Conditions & Publish Docs Page Template #
You can choose either BetterDocs Category Grid or BetterDocs Category Box to design your Docs page with Elementor. After making all the changes, click on the ‘Publish’ button. You will see a popup asking you to set conditions. Pick ‘Doc page’ option and click on ‘Save & Close’ and your Docs page will be published.

Final Outcome #
After following these simple steps, you can create your own custom Docs page with Elementor and change the designs as per your preference.

Using BetterDocs, this is how you can create a compelling Docs page with Elementor Theme Builder effortlessly. If you face any difficulties, feel free to contact our support team.


