BetterDocs Pro allows you to manage multiple knowledge bases on your WordPress site with Elementor. With this, you can maintain separate online documentation for different products and get full control over customization on Elementor Editor. Check out the step-by-step guide below to manage your multiple knowledge bases documentation with Elementor & BetterDocs.
Note: The Elementor Theme Builder is a feature that is only available with Elementor Pro. So, to configure your Docs Archive Page with Elementor, make sure Elementor Pro is activated and installed on your WordPress site.
Step 1: Create Docs Archive Template In Elementor #
Before starting anything make sure you have created multiple knowledge bases on your WordPress dashboard. To do is, you can follow this detailed doc over multiple knowledge bases with BetterDocs and start configuring it for Elementor.
Open your WordPress dashboard and navigate to Templates→ Theme Builder. Click on the ‘Add New’ button, choose ‘Docs Archive’ as your template type and then click on the ‘Create Template’ button as shown below.
Step 2: Insert Multiple Knowledge Bases Element #
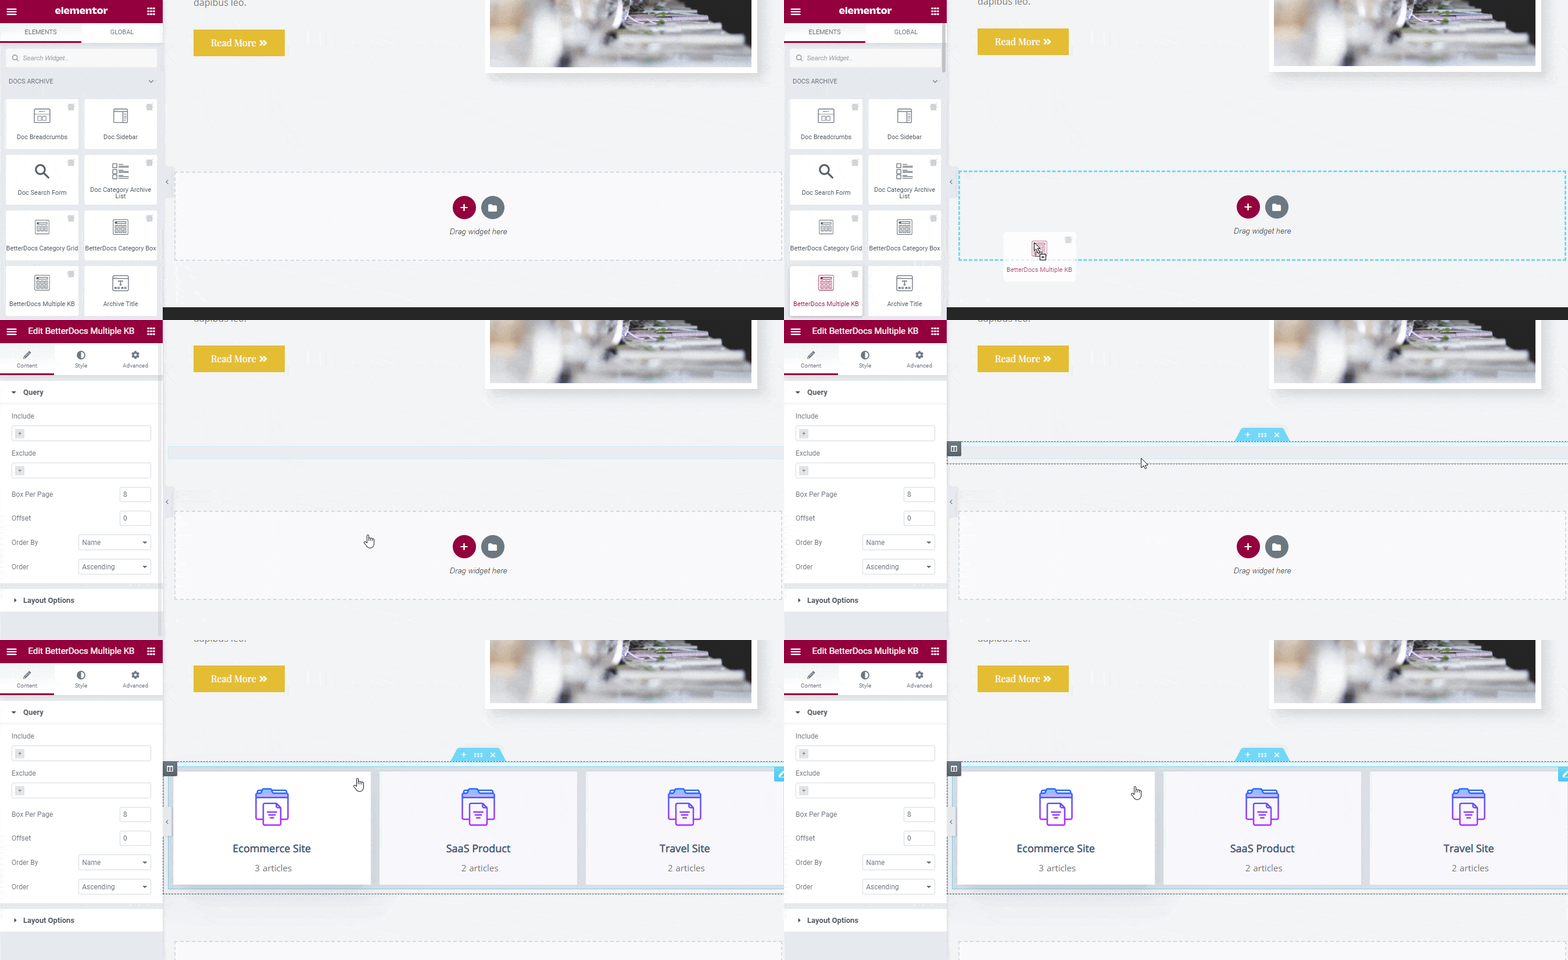
You will be redirected to your Elementor Editor. Now all you need to do is to drag & drop ‘BetterDocs Multiple KB’ element on the ‘+’ sign of Elementor Editor. It will then automatically display all your multiple knowledge base categories that you have created before on the BetterDocs dashboard.
Step 3: Configure The Content Settings #
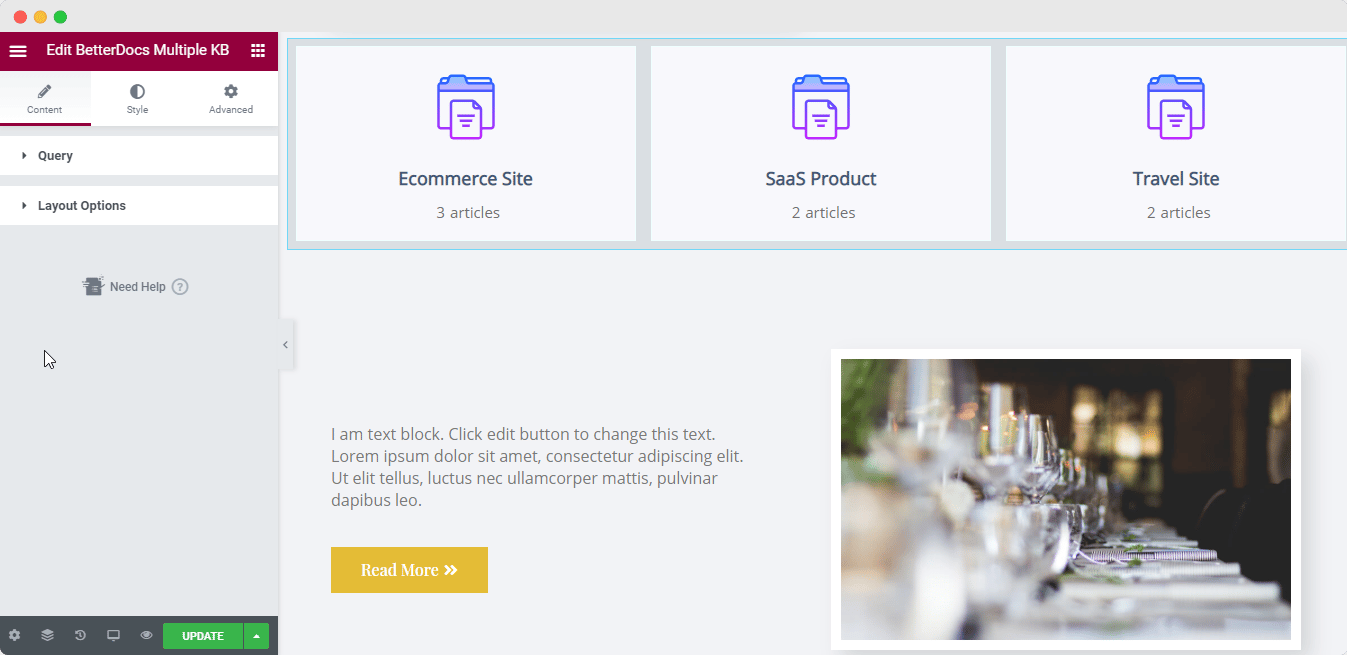
From the ‘Content Settings’ you will get two options called ‘Query’ and ‘Layout’.
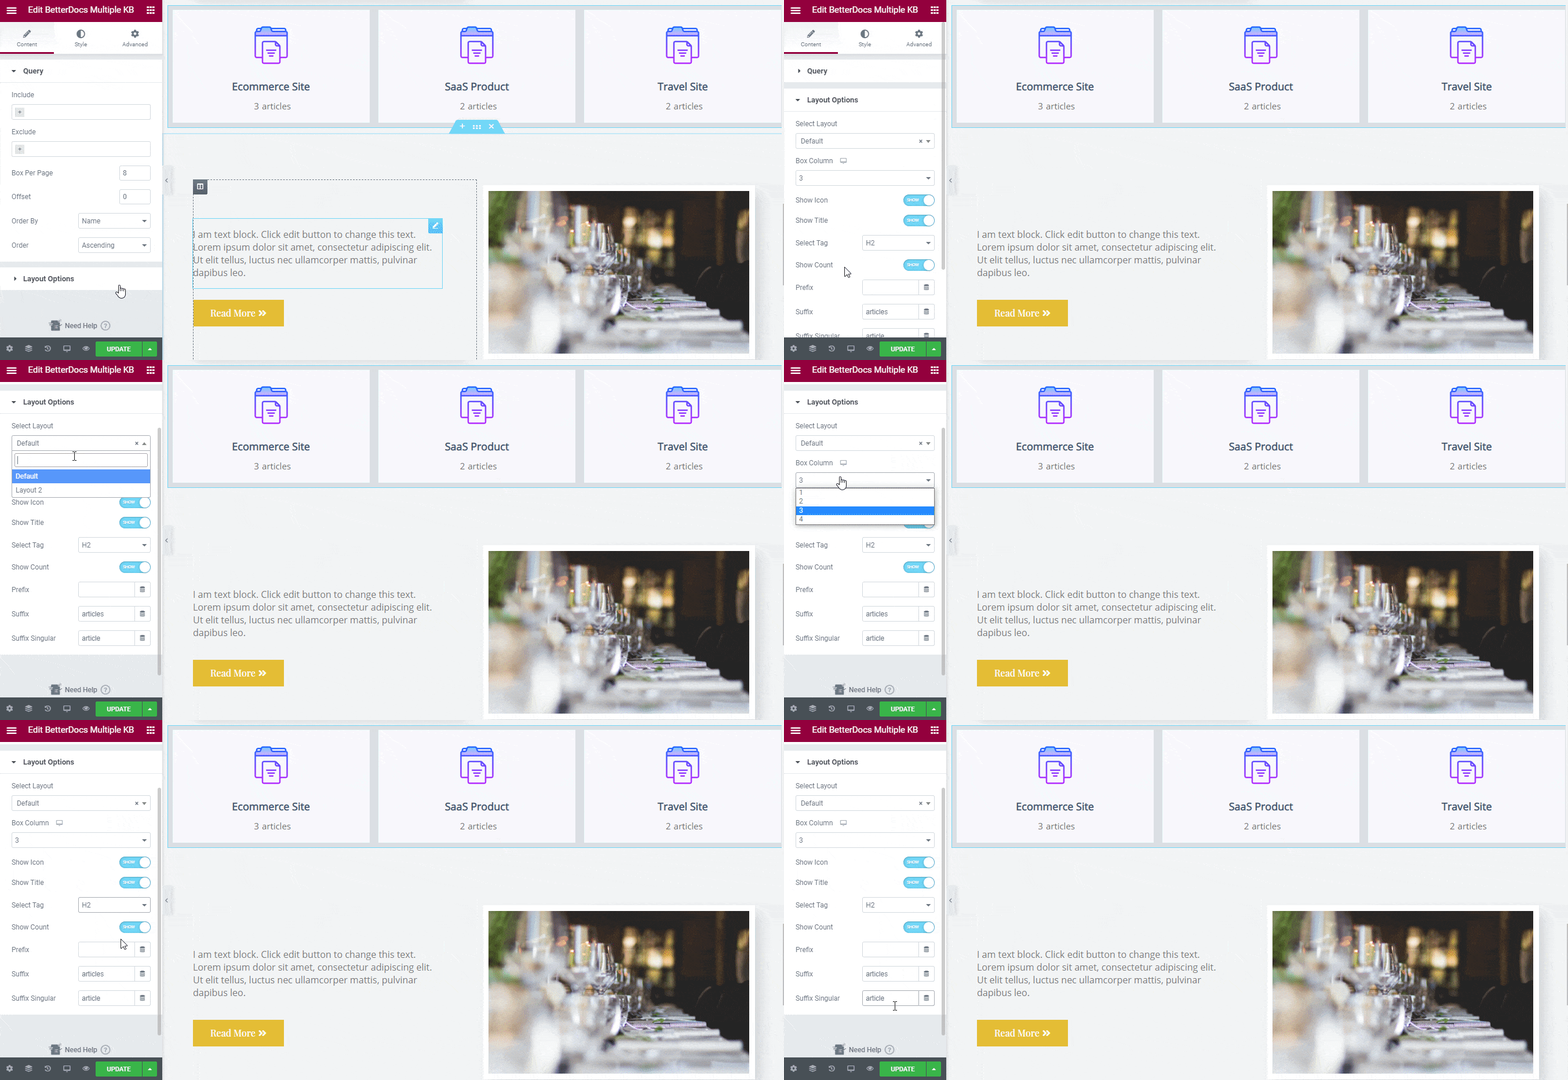
From Query, you can ‘Include’ or ‘Exclude’ any of your multiple knowledge base categories by using these two features. Besides, if you want, you can set the Box Per Page, Offset, Oder By, and Order in ascending or descending.
With the ‘Layout’ option, you can select your multiple knowledge bases section layouts, box column, enable icon, title, select tag, show count, prefix, suffix, and suffix singular.
Step 4: Customize The Style #
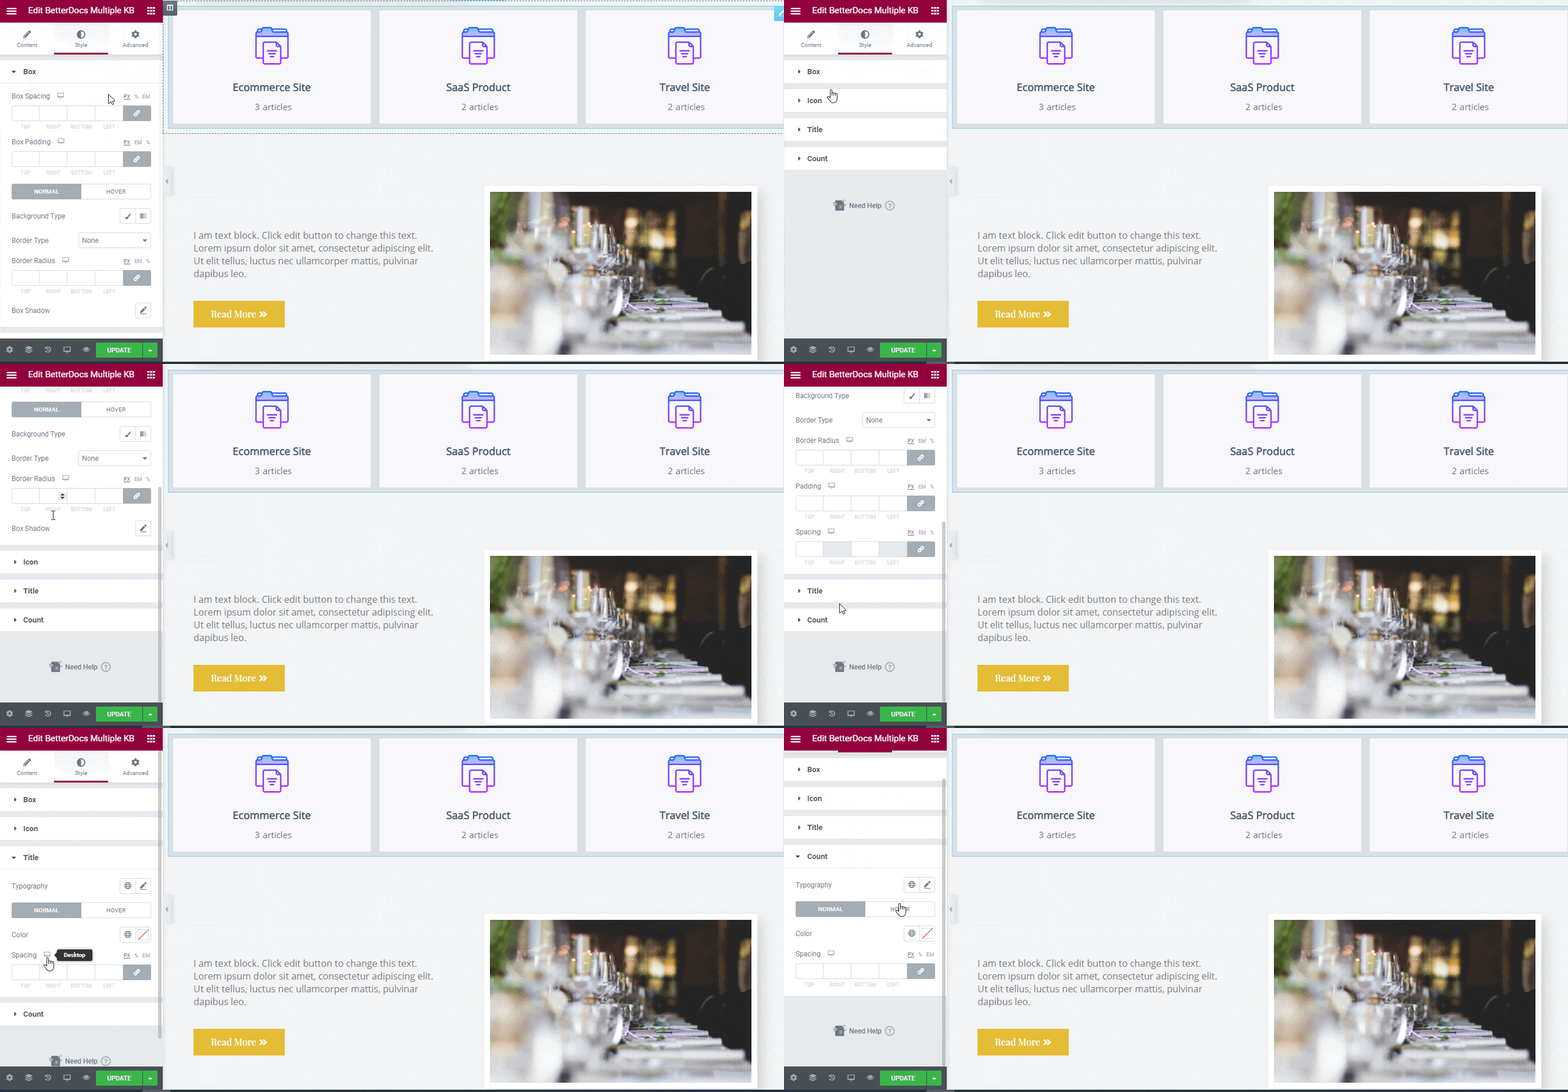
From the ‘Style’ tab, you can style your multiple knowledge bases layout by configuring the ‘Box’, ‘Icon’, ‘Title’, and ‘Count’ sections. You can make changes to each of these design sections and modify the default outlook as per your preference.
Step 5: Set Conditions & Publish Docs Page #
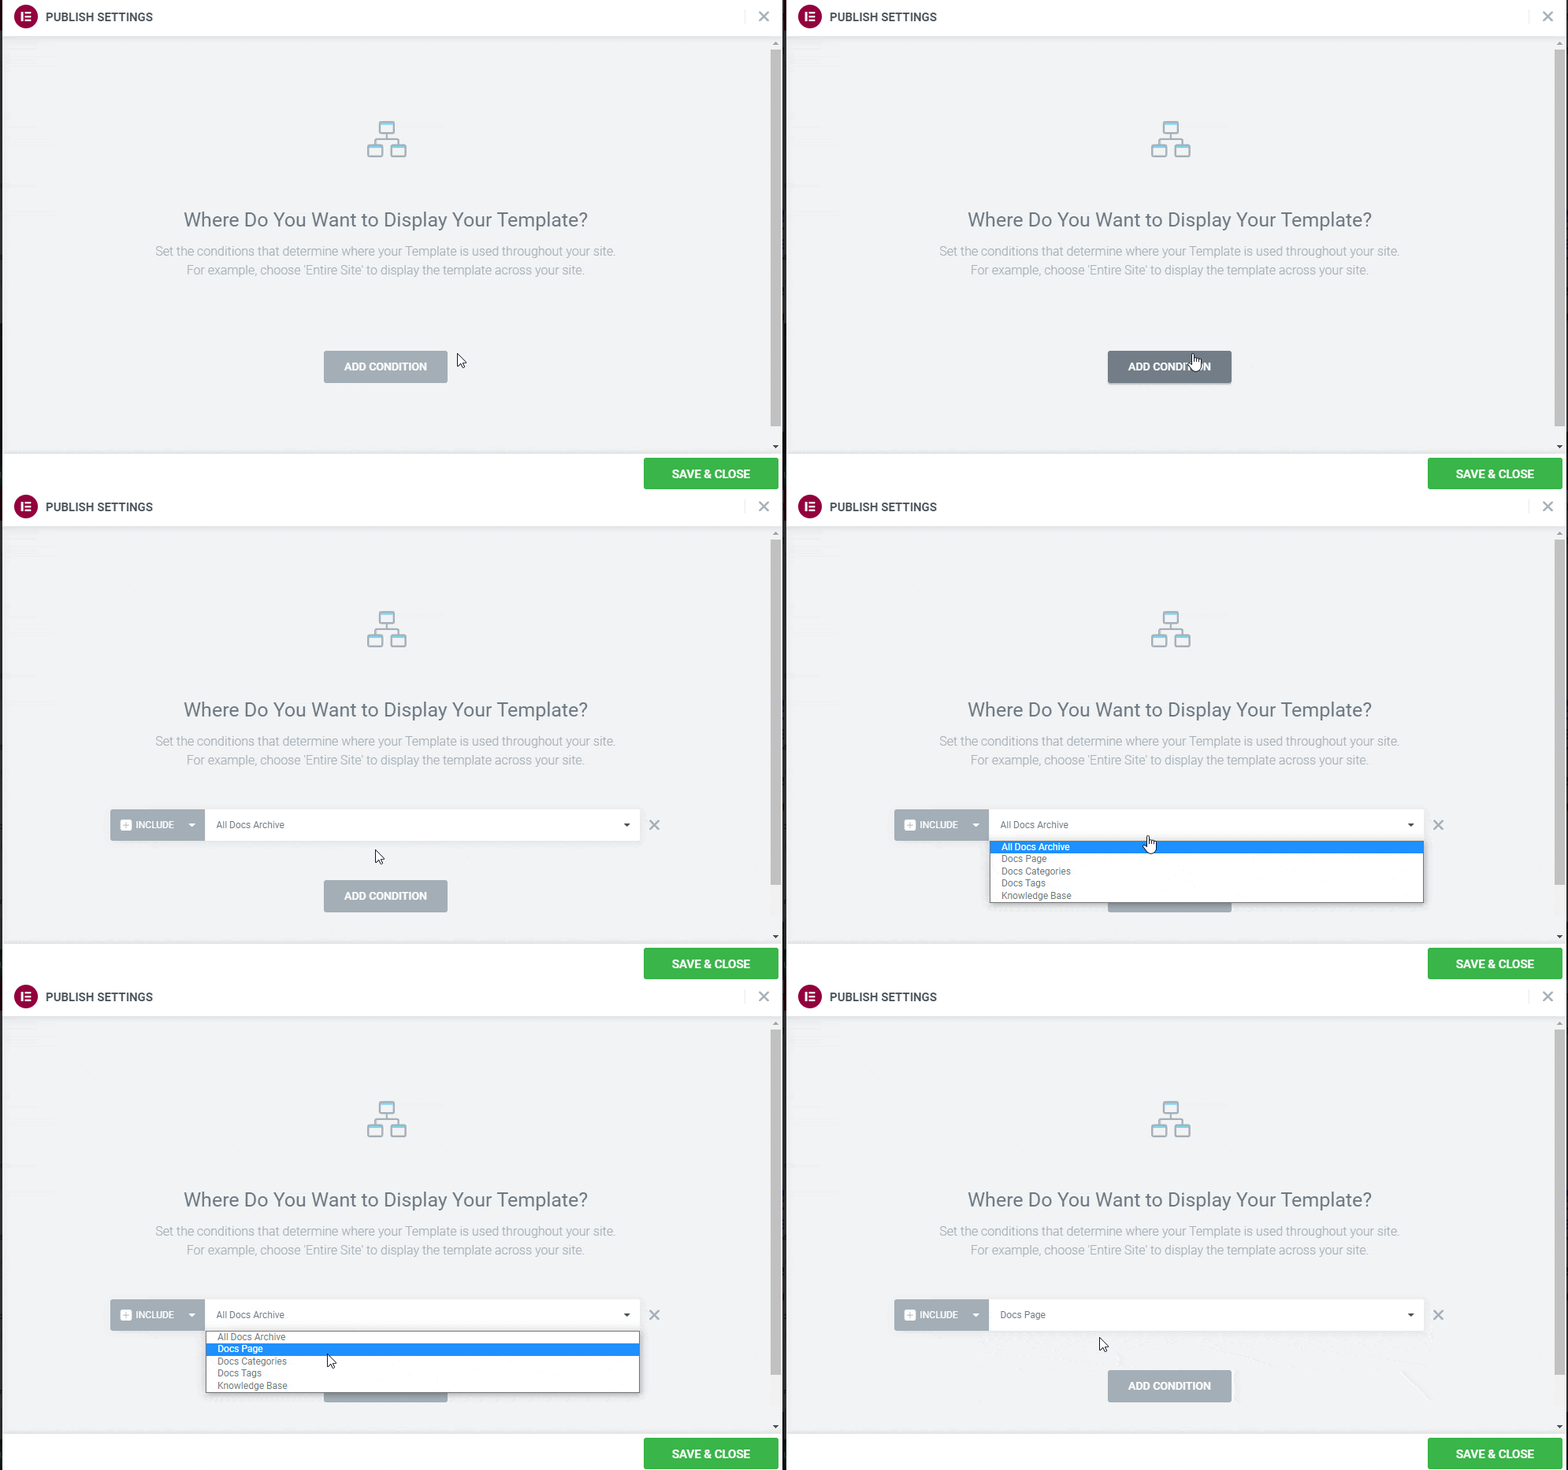
After making all the changes, click on the ‘Publish’ button. You will see a popup asking you to set conditions. Pick the ‘Doc Page’ option, click on ‘Save & Close’, and your BetterDocs multiple knowledge bases docs page will be published.
Besides, if you want you can change each of the category archive pages of each knowledge base. To do is you need to again navigate to Templates→ Theme Builder and create a new docs archive page which was shown in step 1.
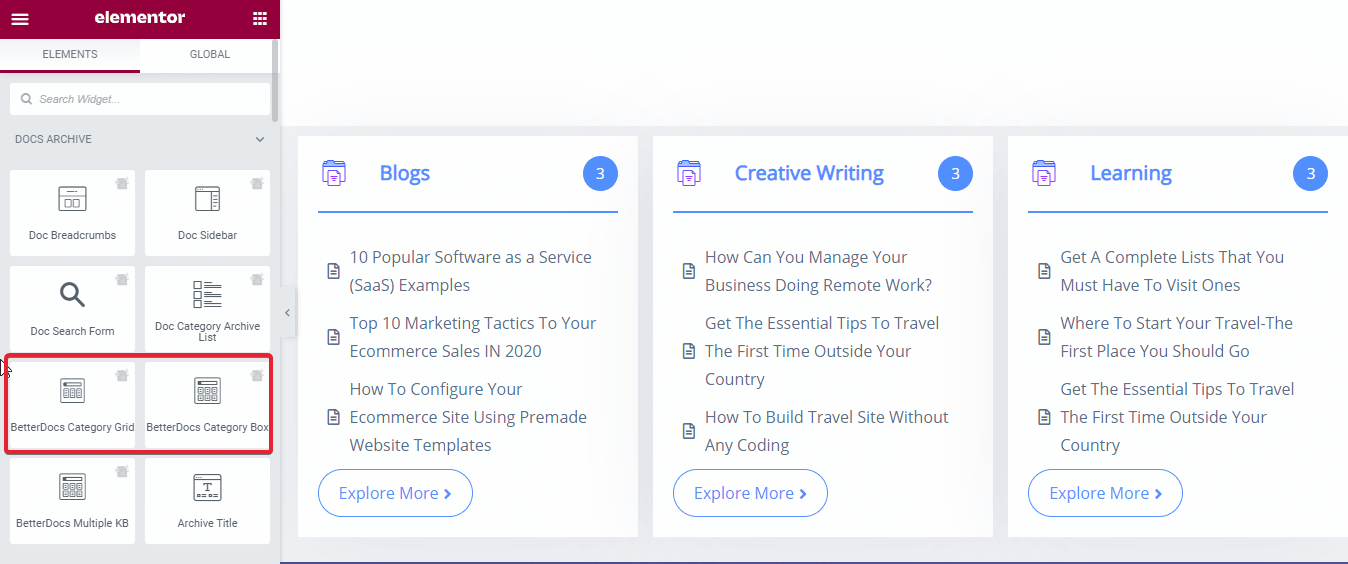
Once you have done, choose BetterDocs Category Box or BetterDocs Category Grid and accordingly make the changes by following that linked documentations. Also, if you want to configure a single doc page just follow the simple steps of this doc here.
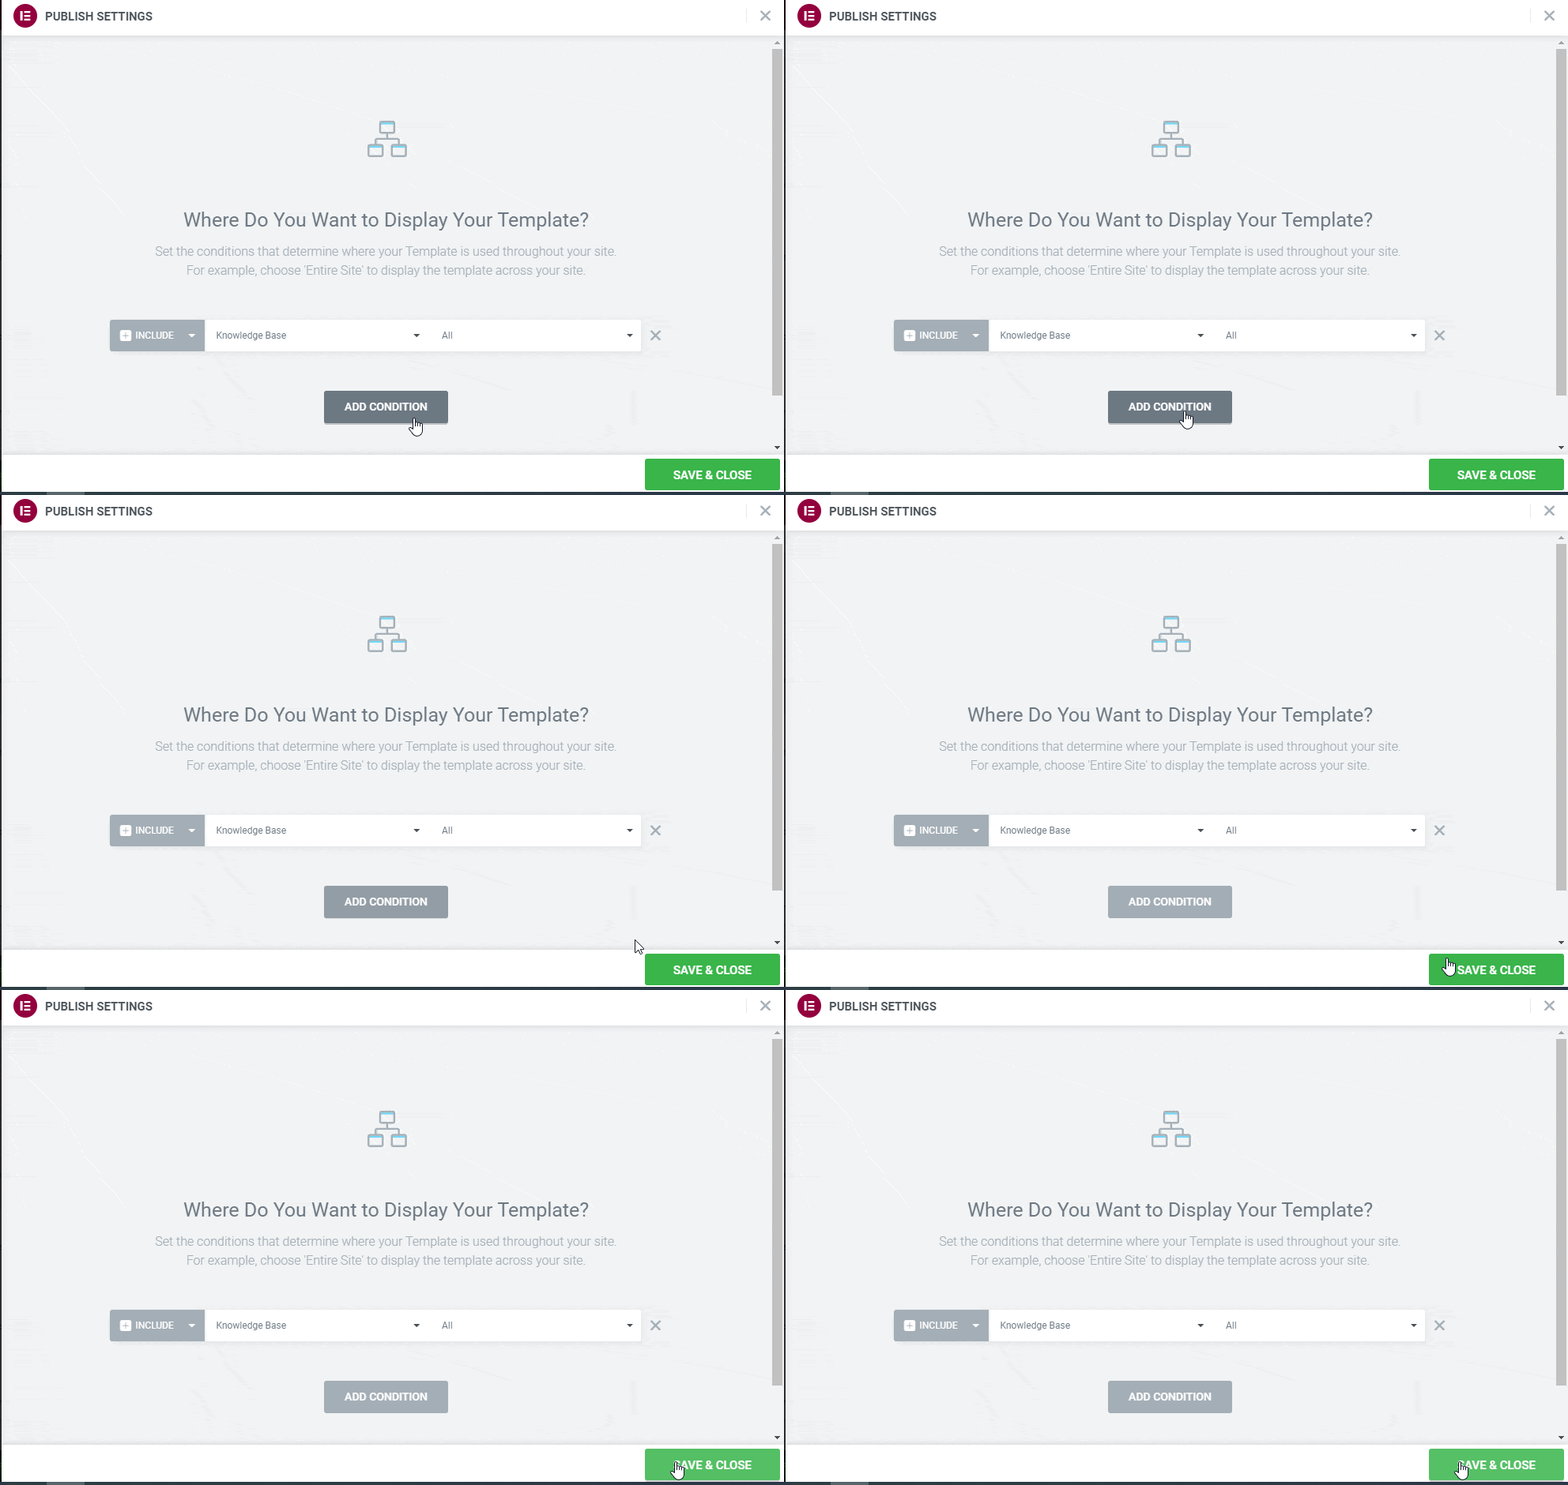
After making all the changes, similarly, click on the ‘Publish’ button, a popup window will appear asking you to set conditions. Pick the ‘Knowledge Base’ option, click on ‘Save & Close’, and your BetterDocs multiple knowledge bases pages will be published.
Final Outcome #
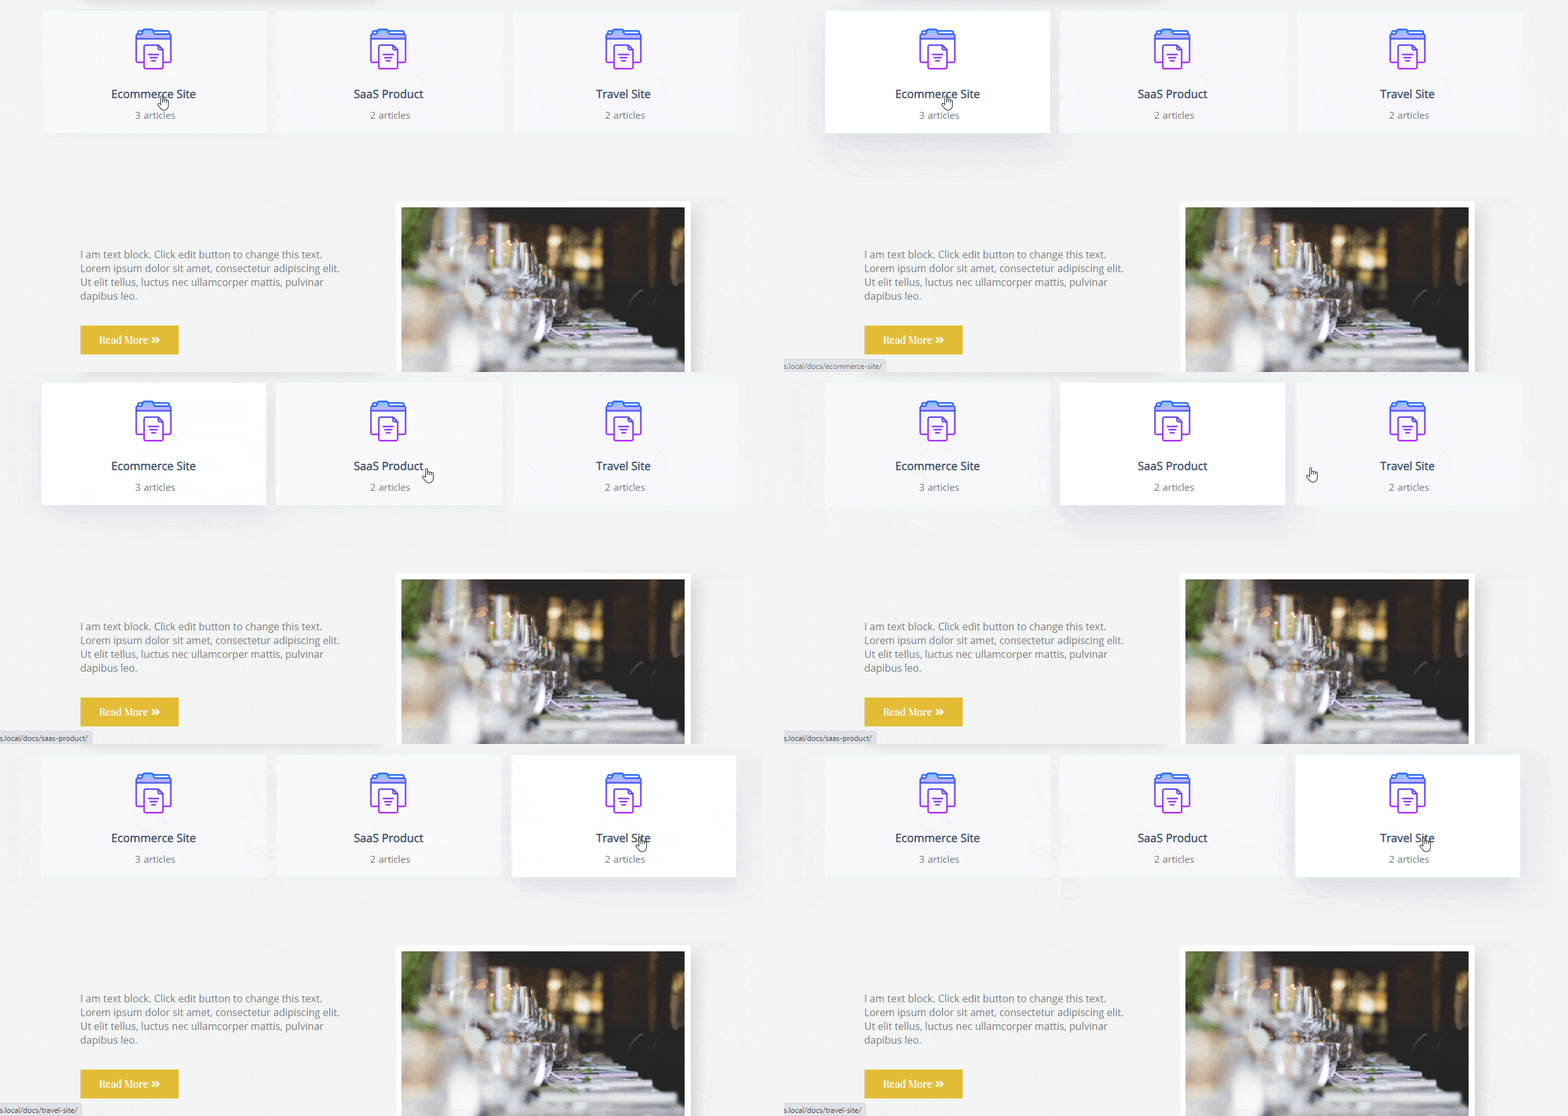
By following these basic steps, you can design your own stunning multiple knowledge bases with Elementor by using BetterDocs.
By using BetterDocs, this is how you can build a compelling multiple knowledge bases docs page with Elementor Theme Builder easily.
If you face any difficulties, feel free to contact our support team.


