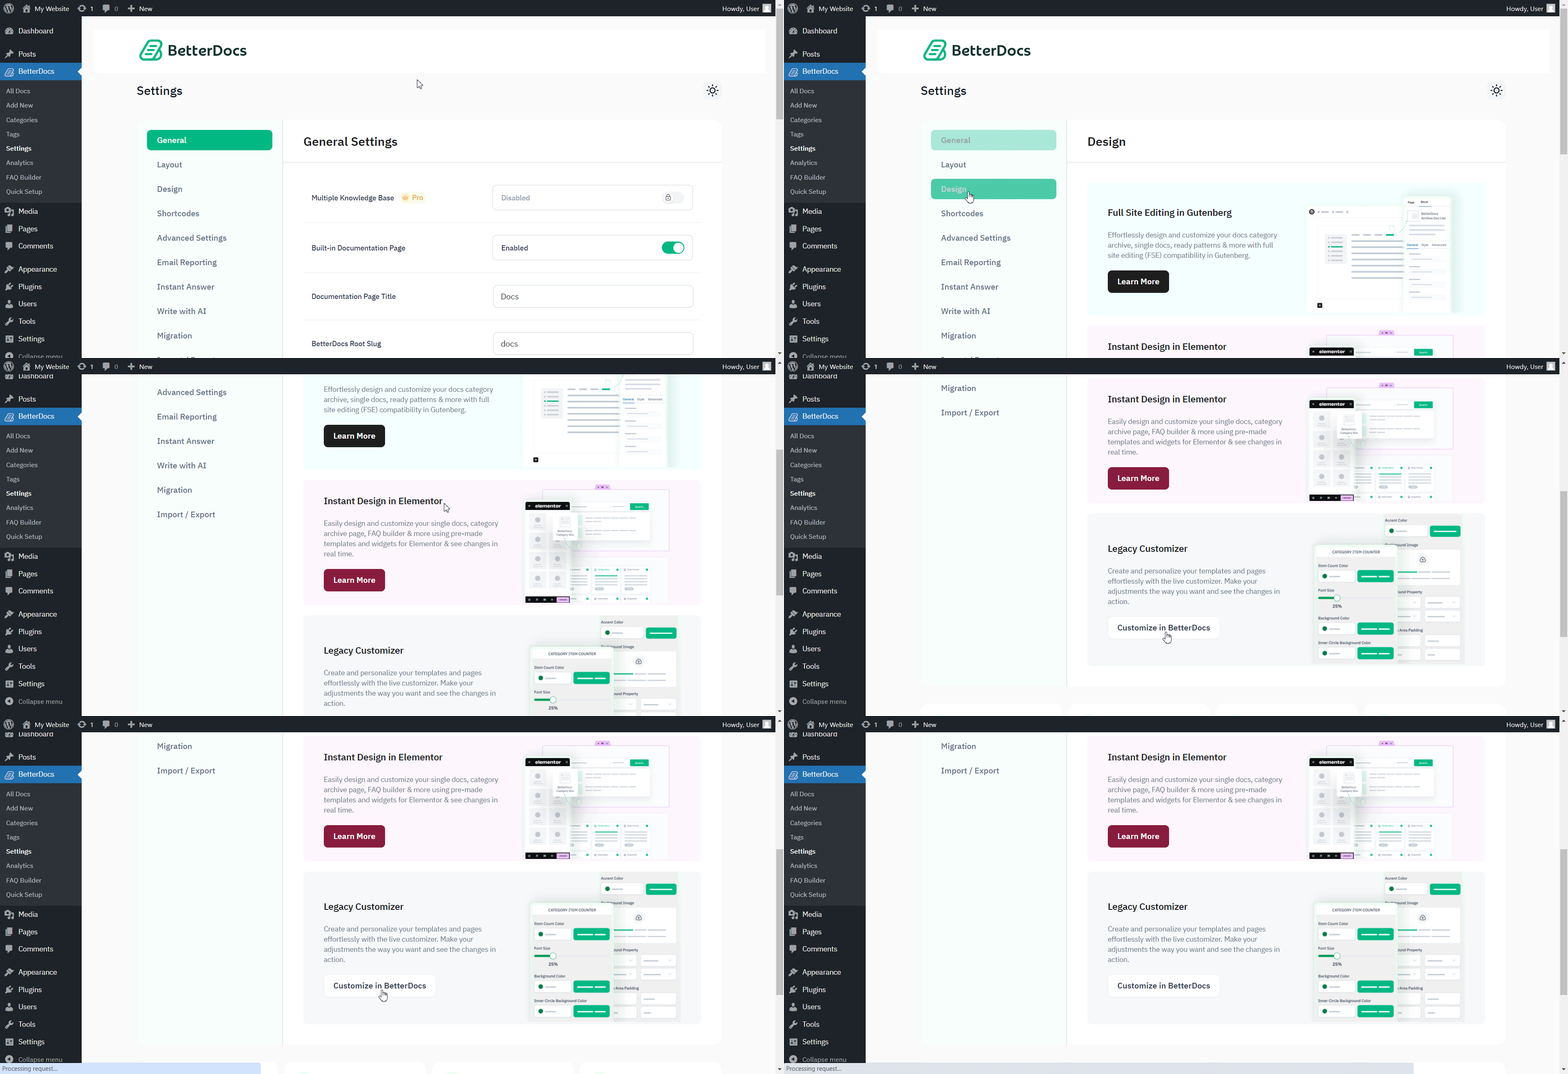
BetterDocs gives you the freedom to customize the Sidebar layout and change its appearance any way you want. Now, let’s follow the below guidelines to customize the Documentation Sidebar in BetterDocs.
Step 1: Configure BetterDocs Settings #
First of all, go to the BetterDocs Settings by navigating to wp-admin → BetterDocs → Settings. Afterward, open the ‘Design’ tab. Now, hit the ‘Customize in BetterDocs’ button under the ‘Legacy Customizer’ section and you will be redirected to the Customize page.

Step 2: Modify BetterDocs Documentation Sidebar #
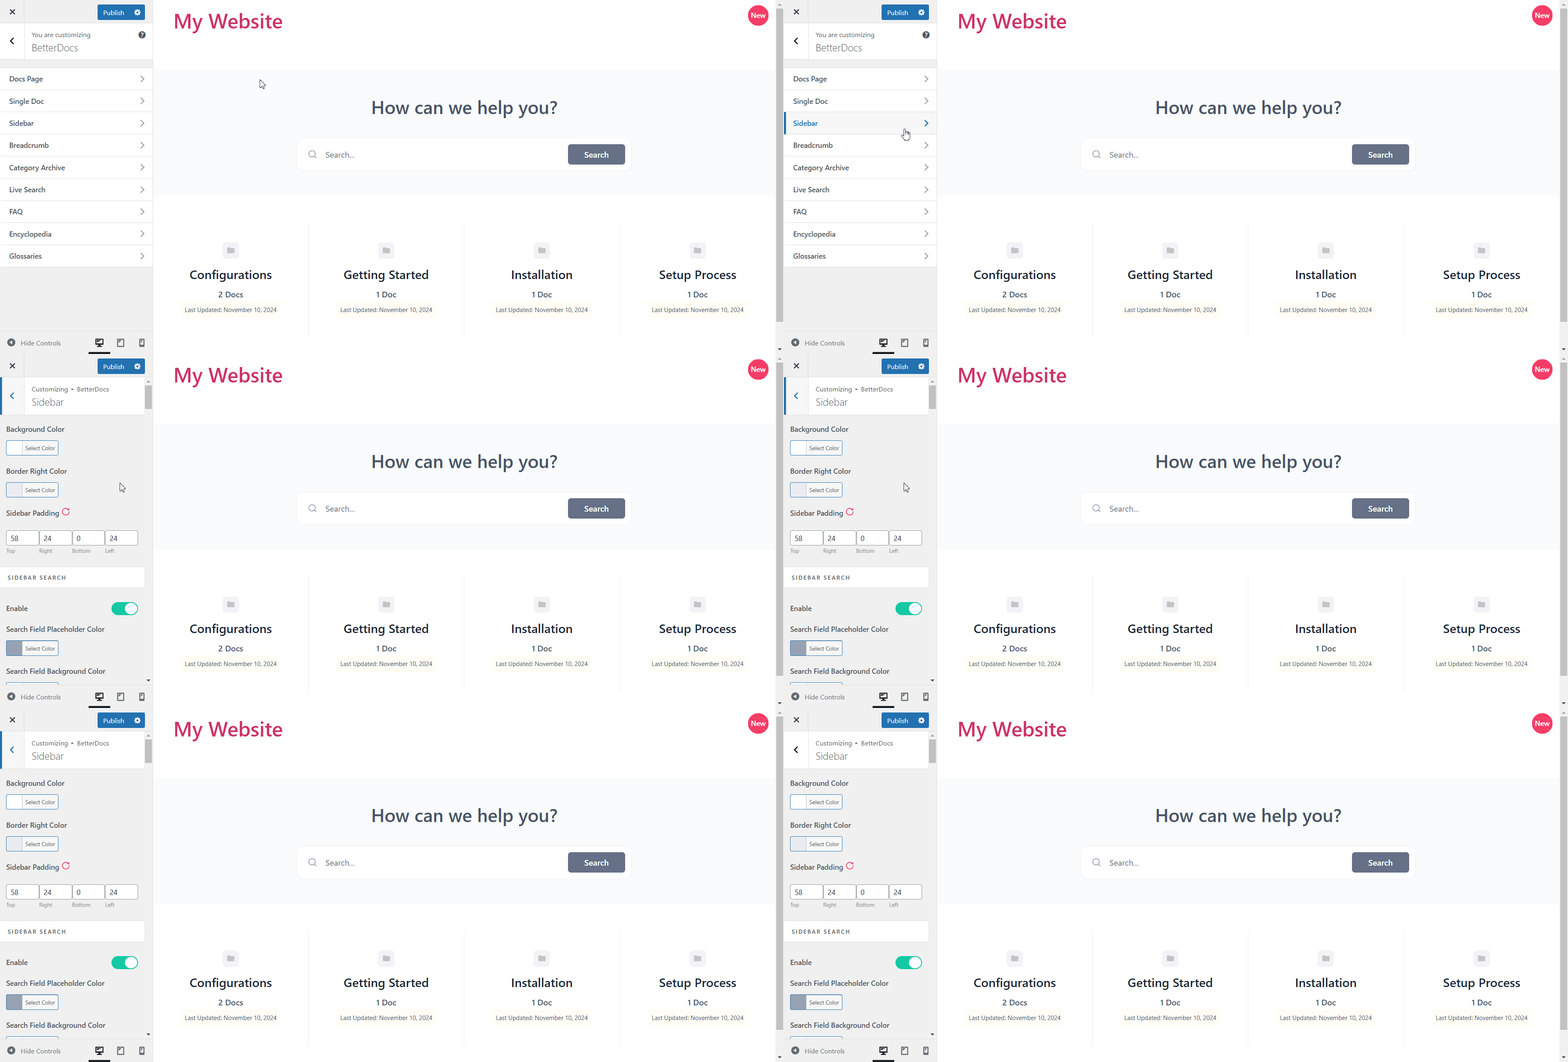
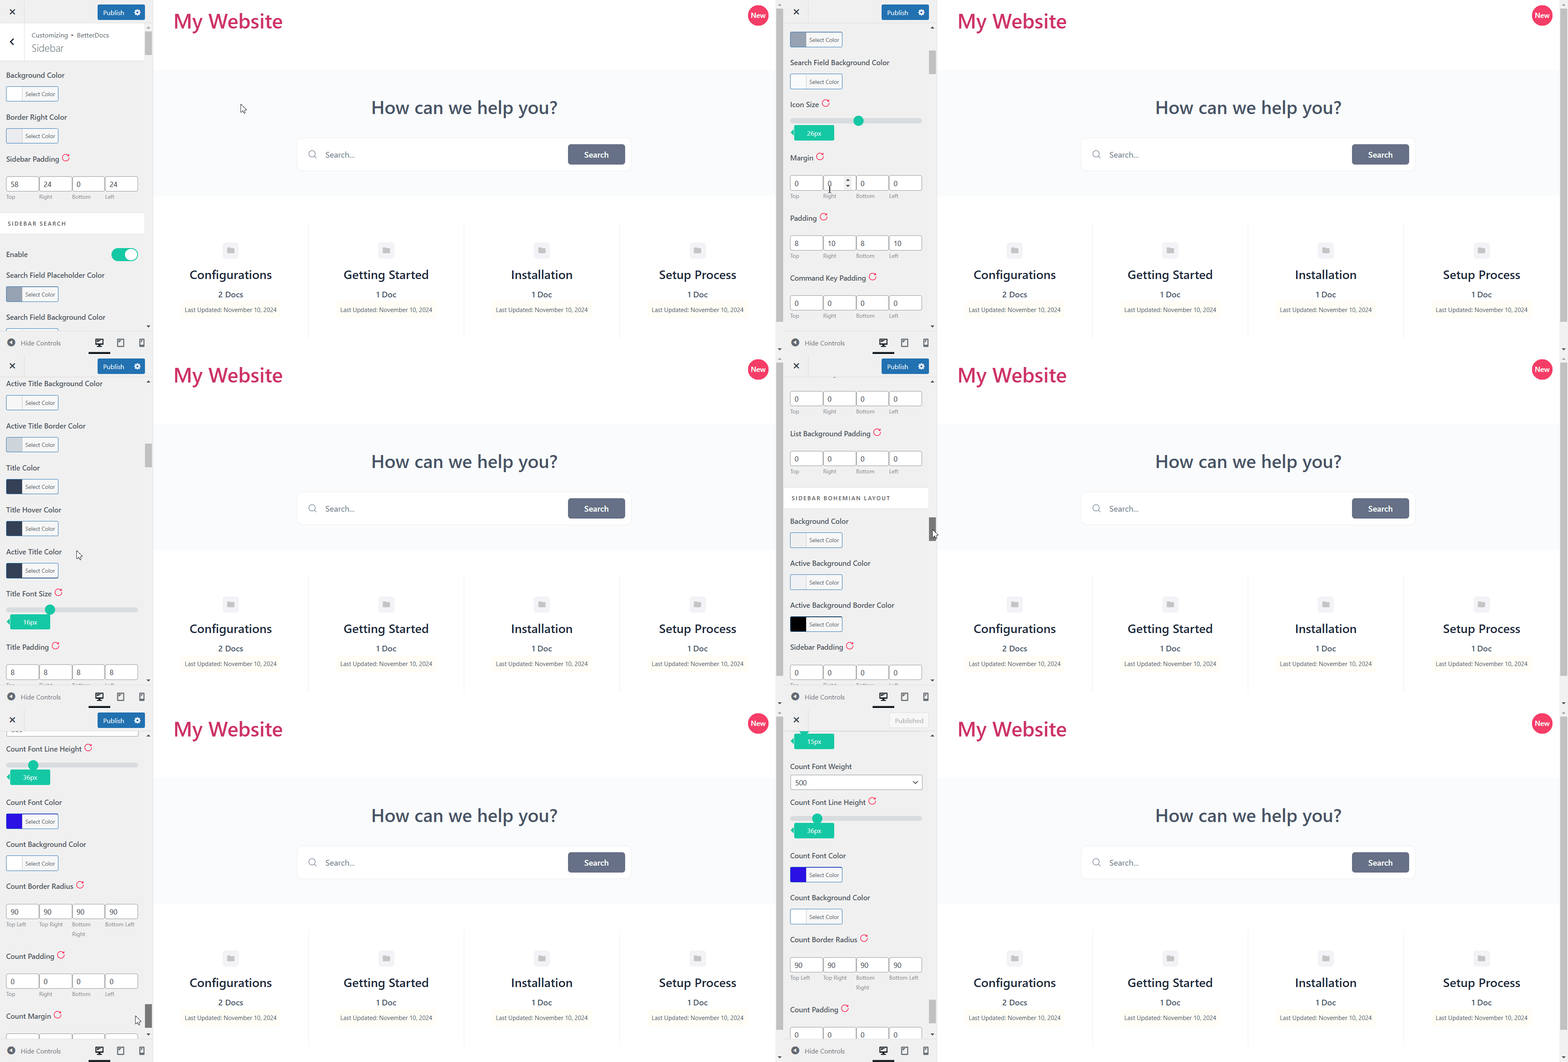
From ‘BetterDocs’, you can pick the ‘Sidebar’ option. You will then find all the styling options to modify the appearance of the sidebar.

Since by default the ‘Customize BetterDocs’ option redirects you to the doc landing page as a preview, you need to go through the Single docs to see the sidebar changes you make in real-time.
Afterward, you can go ahead & change the Icon Size, Title Font Size, Item Count Size, List Item Font Size, and others. Besides, you have the freedom to change the Title colors when they are in normal and active modes. Also, you can change the colors for Item Background, Item List, Active Item List, Item Count, and many others on your sidebar. Make sure to hit on the ‘Publish’ button to save your changes.

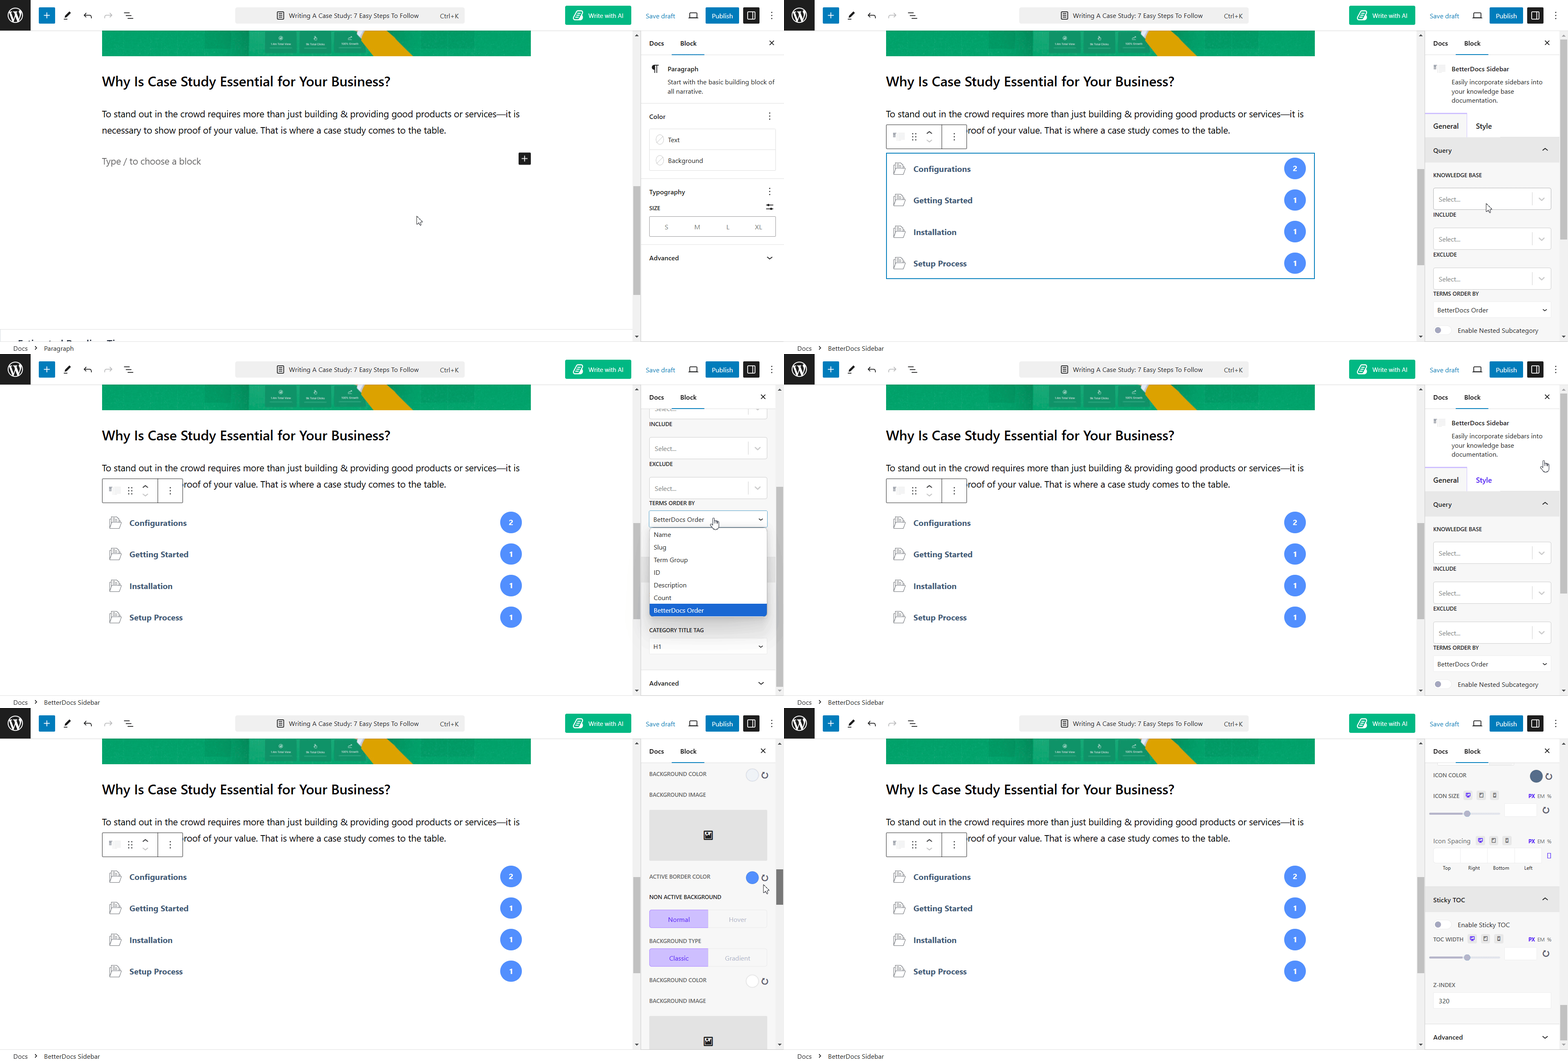
Moreover, BetterDocs provides a Full Site Editor compatible block of Docs Sidebar feature where you can include/exclude categories, sort by different orders, choose selected layouts, and more. It allows you to make changes to the sidebar design and layout as per your preference. You can now choose different Docs sidebar designs directly using BetterDocs compatibility for the WordPress full site editor.

With BetterDocs, this is how easily you can customize the documentation sidebar in advance to improve your user experience.If you face any difficulties, feel free to contact our support team.


